Additional information
| Dimensions | 153 × 93 × 3 cm |
|---|
Original price was: ₹180,000.00.₹144,000.00Current price is: ₹144,000.00.
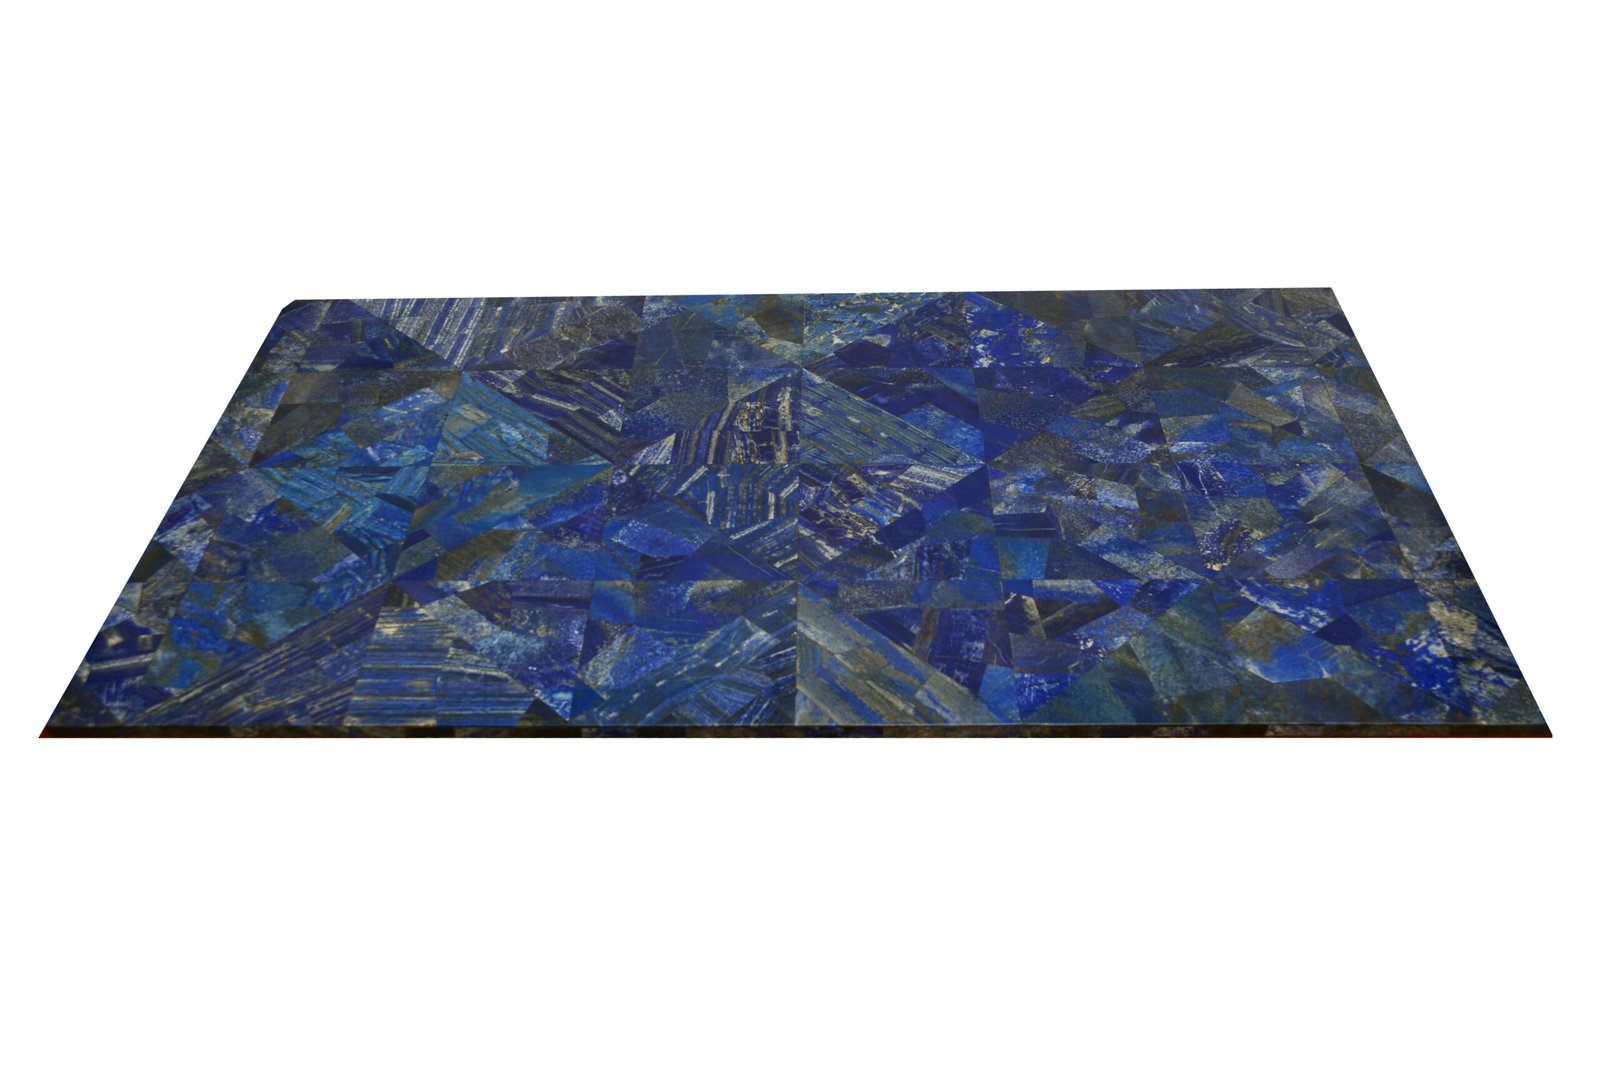
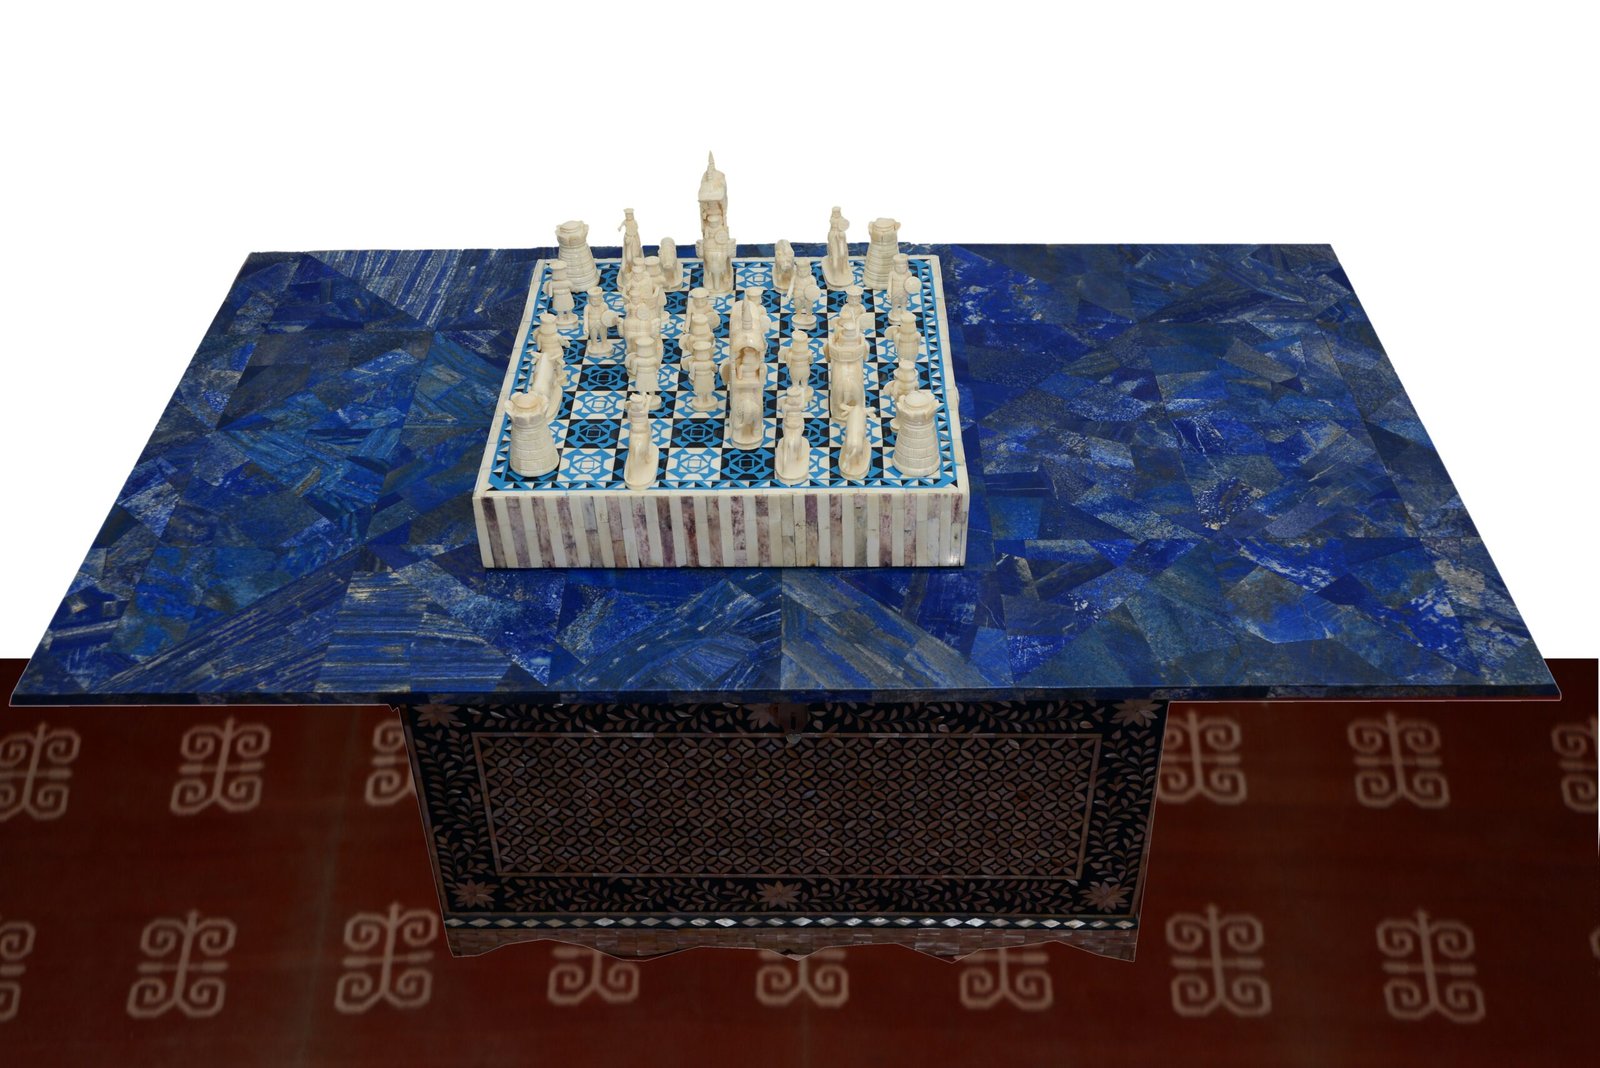
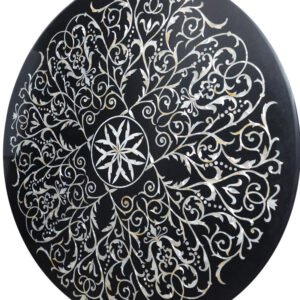
BEAUTIFUL DECORATIVE HANDMAME LAPIS LAZULI TABLE TOP
Vintage beautiful decorative handcrafted lapis tabletop. best for interior designing. We can provide product certification and details of product as well as artisan.
Lapis Lazuli is a deep blue semi-precious stone prized since antiquity for its intense color. As early as the 7th millennium BC, lapis lazuli was mined in the Sar-i Sang mines,in Shortugai other mines in the Badakhshan province in northeast Afghanistan. Lapis was highly valued by the Indus Valley Civilisation (3300–1900 BC). Lapis beads have been found at neolithic burials in Mehrgarh, the Caucasus, and even as far from Afghanistan as Mauritania.
Manufacture Procedure
Step 1: Lapis Table Top Design Drawing on Marble. First the desired design is being drawn on Marble Plate by the artist with pencil. The marble Plate is 1/2 inch to 1 Inch thick depending upon Length and breadth of the Table Top. . Design can be divided in to two distinct portions. That is, the out Line stones and Inlayed Portion. For the Out Line, different color stones are used such as for white simple Marble is used, for green Jade type materials are used and so on. Rest of Table Top as you will see in later steps is being over-laid / Inlayed with lapis Lazuli. The drawing is done keeping in view the width of stones being used for out Lining Purpose.
Step 2: Lapis Table Top Cutting / Carving Pieces. Once the design is drawn on Marble Plate, then first, the stones making out line are cut and carved into desired shapes. In the following picture White Marble is being shaped with the help of saw. This shaping of stone requires very good skill. The Marble and all other stones being cut are hardly 3-4 Millimeters in thickness. Therefore for soft stones extra care is needed during cutting so as to save it from breaking in this stage.
Step 3: Lapis Table Top Cutting / Carving Outline. In the following picture you can see the cutter has cut one out line piece out of stone. After overlaying this piece on Marble plate, the Inside hollow areas will then be inlayed with some color full material. This Inlay stone is cut and shaped similarly as the outline object you see.
Step 4: Lapis Table Top Overlaying Outline Objects. Once the cutter has cut out line object, he then glues that object on Marble Plate at its designated Place. There are dozens of such objects which are cut and shaped and being glued to the Marble Plate. After overlaying this piece on Marble plate, the Inside hollow areas are inlayed with some color full material. In the following case it is some yellowish material coming out of Afghanistan. This yellowish material is more similar in color to what you see in yellow Tanzanian Opal. The outside of the object is filled with Lapis pieces.
Step 5: Lapis Table Top Lapis Inlay. After the cutter glues all out line objects on Marble table top, he then cut several dozen ( some time hundreds if table top is big ) of Lapis pieces according to the shape of objects so as to fill the empty spaces around and inside the design. These several dozen Lapis pieces are cut and shaped in a way so as they inlay perfectly in and around the design. In following picture if you see carefully Lapis pieces are cut and Placed in a way so as they surround the white marble border line which was cut and placed during step 1-4. Placing Lapis Pieces around straight border line might not be that difficult though when cutting and shaping lapis around curved objects it does then require lot of skills. The Lapis slabs/ Pieces are 2-4 Millimeters thick.
Step 6: Lapis Table Top Lapis Slabs Pasting operation. In the following picture you can see several dozen Lapis Slabs being cut and glued around a flower design. At this stage the surface of the table top is very uneven. Glue used in here is locally made from some herbs etc.
Step 7: Lapis Table Top Grinding Operation. After all the pieces are glued together over Marble Plate the surface is being grind to make it even and smooth. This procedure is not much different than what is usually done on our Marble Floors etc. During this grinding operation the uneven surface become even. As you see the grinding Machine being used for leveling is operated manually. This means finish surface may not be as leveled as we wished it to be or as we see the Marble and Granite Plate which are cut in Marble factories. In any case Finishing is usually not too bad and overall surface is reasonably flat after this operation.
Step 8: Lapis Table Top Grinding Operation. This is another detail view of grinding operation where you can see the grinding Machine being used for leveling is operated manually. To be noted here is the pressure exerted by left hand on top of machine which should be uniform throughout the operation. As mentioned earlier, Finishing is usually not too bad and overall surface is reasonably flat after this operation.
Step 9: Lapis Table Top Post Grinding Operation. Picture In front is the Table Top after grinding operation. It is not yet finished. Actual finishing work starts after grinding operation. There are some tiny holes being created during grinding. They are filled again. Tiny one with glue and Lapis paste and bigger one if any are with glue and Lapis pieces.
Step 10: Lapis Table Top Sanding Operation. After grinding and refilling operation the Sand Papers are used to make the surface smooth and shiny. Sand Paper being used are NOT the one used for woods. They are special sand papers of different grit sizes for stones and Iron sanding. As you see in the Picture Sand papers are applied with hands. One reason is if there is any unnoticeable minor unleveled surface the hand application makes it easy for sand paper to be applied on such places as well. The sand Paper grits start from coarser one then gradually to bit less coarser and that is 320P to finally the fine one and that the maximum we have here in Peshawar is 1000P.
Step 11: Lapis Table Top Sanding Operation. Another close up of sanding Operation in following Picture. As mentioned earlier Sand papers are applied with hands. One reason is if there is any unnoticeable minor unleveled surface the hand application makes it easy for sand paper to be applied on each portion of the table top. This operation since done with hand takes lot of time.
Step 12: Lapis Table Top Polish Operation. This is the final step. After sanding Operation Lapis and other stone surfaces are completely smoothed. Polishing is thus done by a buff in some cases which is mounted on the grinding machine and with special type of soap type material the surface is being polished
Reviews
There are no reviews yet.